






How to Position a Trail Camera for Professional Results

Buying a trail camera opens the door to a world of discoveries, allowing us to observe what happens when we're not around, whether for monitoring wildlife or ensuring property security. However, owning excellent hardware is only half the job: the difference between an SD card full of sharp images and one filled with empty or blurry shots lies almost entirely in the installation.
Knowing how to position a trail camera requires a mix of technical knowledge and observation skills. If you're new to trail cameras, before moving on to field installation, it may be helpful to learn more about what trail cameras are and how they work to better understand the logic behind motion sensors and night photography.
In this guide, we'll explore in detail how to position a trail camera, examining the best installation locations and answering key technical questions such as the effective sensor activation range and how to manage framing so you don't miss a single moment in nature or on your property.
Where Can Trail Cameras Be Installed?
Before taking the device out of your backpack, it's essential to ask yourself one question: what is your goal? The answer will significantly influence the choice of location. If you're wondering where trail cameras can be installed, we need to consider two main scenarios:
Wildlife Monitoring: In this case, you need to study the area. The best locations are natural animal pathways, areas near water sources, or feeding grounds. Look for fresh signs such as tracks, broken branches, or droppings to increase your chances of success.
Security and Surveillance: If your objective is to protect a cabin, construction site, or remote property, the trail camera should be placed near mandatory access points such as gates, entrances, or passageways.
Important legal note: If you install the device in public areas or places where people may pass by, ensure compliance with privacy regulations. On private property, installation is generally permitted as long as public spaces or neighboring properties are not recorded.
How to Position a Trail Camera: Height and Orientation
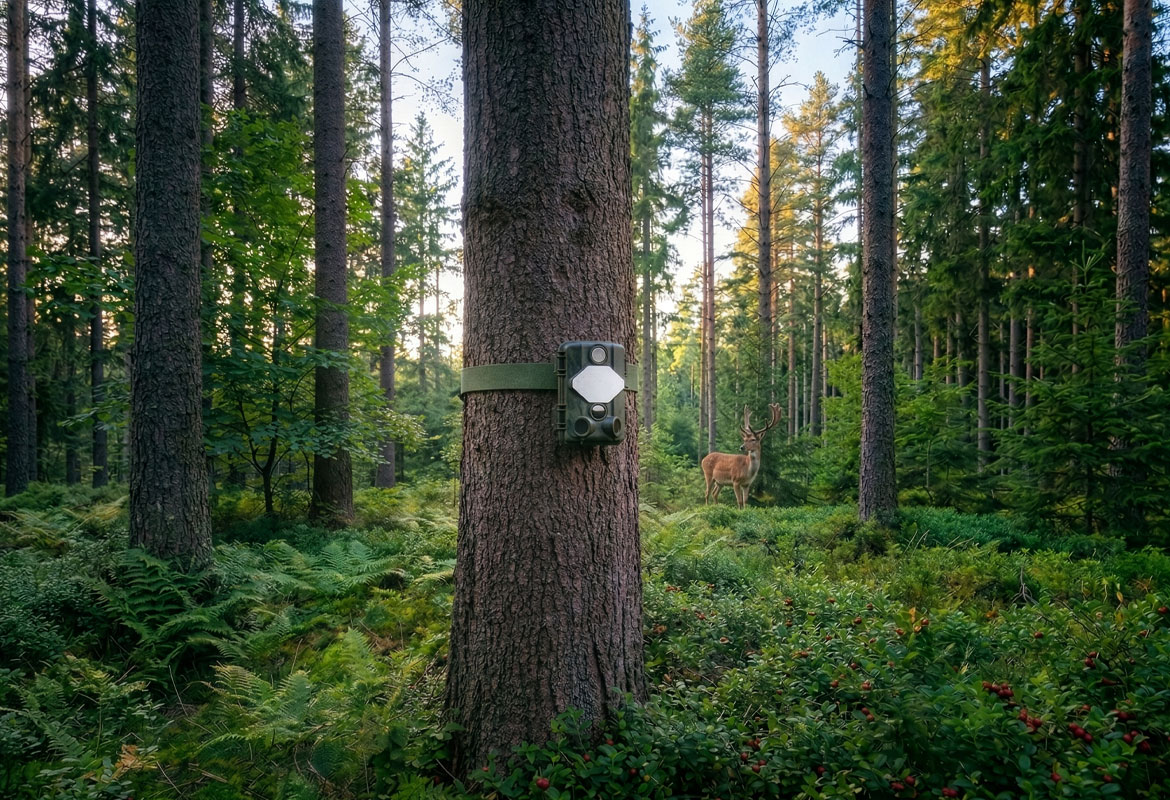
To correctly position a trail camera, you need to consider two "optical" factors: light and subject height.
Sun Orientation: Always avoid pointing the lens east or west. The sun at sunrise and sunset can blind the sensor, resulting in overexposed images and false triggers caused by sudden temperature changes. A north-facing position usually provides the most consistent and balanced lighting.
Height Above Ground: For medium-sized animals such as wild boar, roe deer, or wolves, the ideal height is between 50 and 100 cm (20 to 40 inches). If placed too high, you risk capturing only the animal's back. For security purposes, it is better to mount the camera higher (2.5 to 3 meters / 8 to 10 feet) and angle it downward to make it less visible to potential intruders.
When Does a Trail Camera Sensor Trigger?
One of the most common questions concerns detection range. At what distance is a trail camera activated? The answer depends on the PIR (Passive Infrared) sensor, which detects moving heat sources. Generally, high-end trail cameras, such as those offered by Midland, have a detection range between 15 and 25 meters (49 to 82 feet). However, this distance can be affected by outdoor temperatures. When ambient temperature is close to the animal's body temperature, as often happens on hot summer days, sensor sensitivity may slightly decrease.
At What Distance Does a Trail Camera Capture Clear Images?
It's important to distinguish between activation distance and useful image-capture distance. If you're wondering at what range a trail camera can capture photos clear enough to identify an animal's face or a license plate, the answer depends largely on the infrared illuminator.
Daytime: The depth of field allows details to remain visible at distances of up to 30 to 40 meters (98 to 131 feet), provided the sensor has been triggered.
Nighttime: The effective range of infrared LEDs is usually between 10 and 20 meters (33 to 66 feet). Beyond this distance, images tend to become very dark. For this reason, placing the camera too far from the expected activity zone can reduce the effectiveness of nighttime recordings.
Placement Tips to Avoid False Triggers
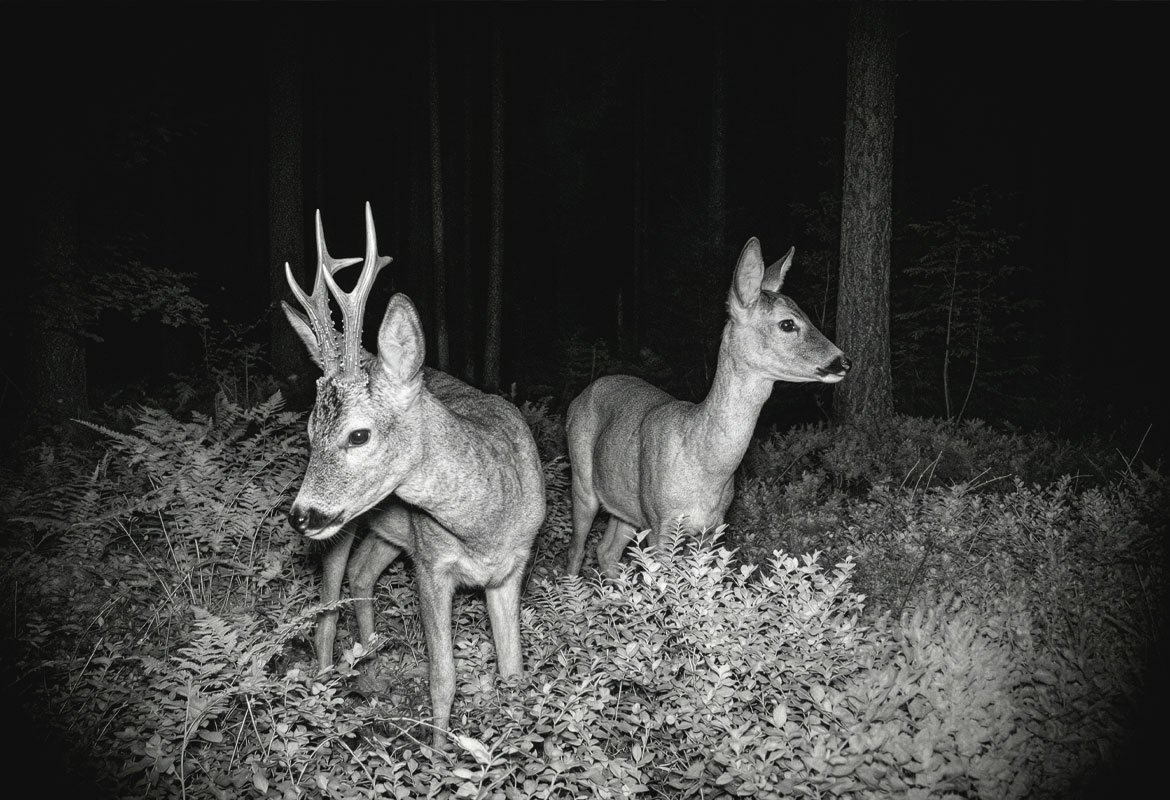
After deciding how to position your trail camera, make sure the field of view is clear. A branch moving in front of the lens or tall grass swaying in the wind can trigger the PIR sensor, filling your SD card with empty images and unnecessarily draining the batteries. Knowing how to position a trail camera is a skill that improves with experience, but reliable hardware is the foundation. Midland trail cameras are designed to withstand extreme weather conditions and feature ultra-fast trigger speeds, ensuring that the subject is always captured in the frame.
Want to improve wildlife monitoring or property surveillance?